.png)
The following blog helps you understand how to set up a wishlist on Shopify using the Flits Wishlist App. If you haven’t checked our app yet, talk to us today and book a FREE DEMO.
Think about how you shop online. You browse, you like something, but you’re still contemplating, calculating, not quite ready to buy. So you leave. And you probably forget about it.
That is what happens to most of your store visitors every single day.
A wishlist can change that. It gives shoppers a way to save products for later return. It captures buying intent before it disappears. It provides real data on what your customers want.
Flits Wishlist App makes it easy to add this to your Shopify store. No code needed. Just a clean setup inside your Shopify admin.
This guide walks you through every step. Let’s get into it.
What is Flits and Why Should You Use It?
Flits is a Shopify app built for customer retention. It adds features like wishlists and a loyalty program to your store.
The Flits Wishlist is now live. It is a standalone wishlist app available on the Shopify App Store, with a free installation. Once it is in your store, you can add wishlist buttons to your product pages, collection pages, and a dedicated wishlist page.
Here is what makes it stand out:
- Zero coding required
- Wishlist buttons work on product pages and collection pages
- Customers can save specific product variants
- You get built-in analytics to track which products are being saved
- It nudges guest users to create an account to save their wishlist
- It supports migration from other wishlist apps
Before You Start
Make sure you have these ready:
- An active Shopify store on any plan
- Admin access to your store
- Flits Wishlist App installed from the Shopify App Store (it is free)
Step-by-Step Guide to Set Up Wishlist on Shopify Using Flits
Step 1: Install the App and Check Your Dashboard
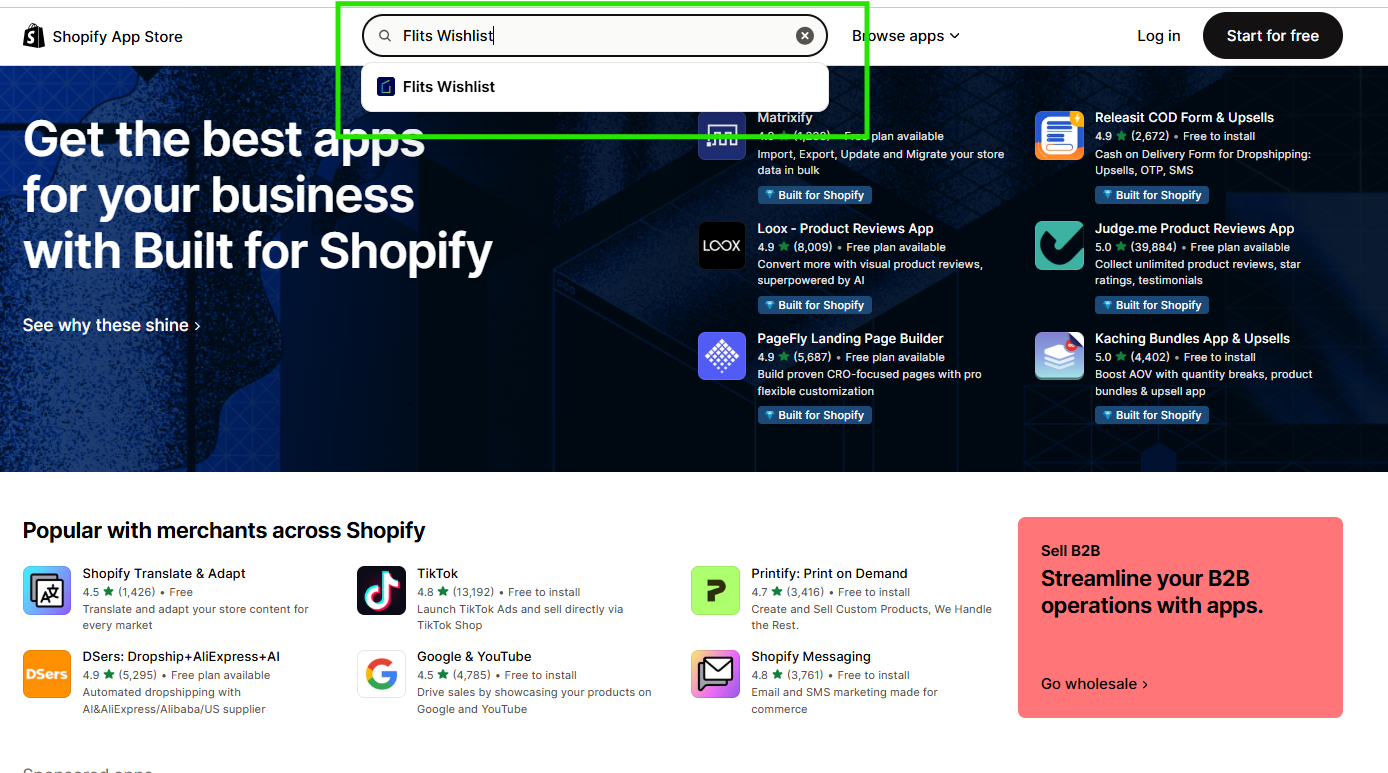
Go to the Shopify App Store and search for Flits Wishlist.
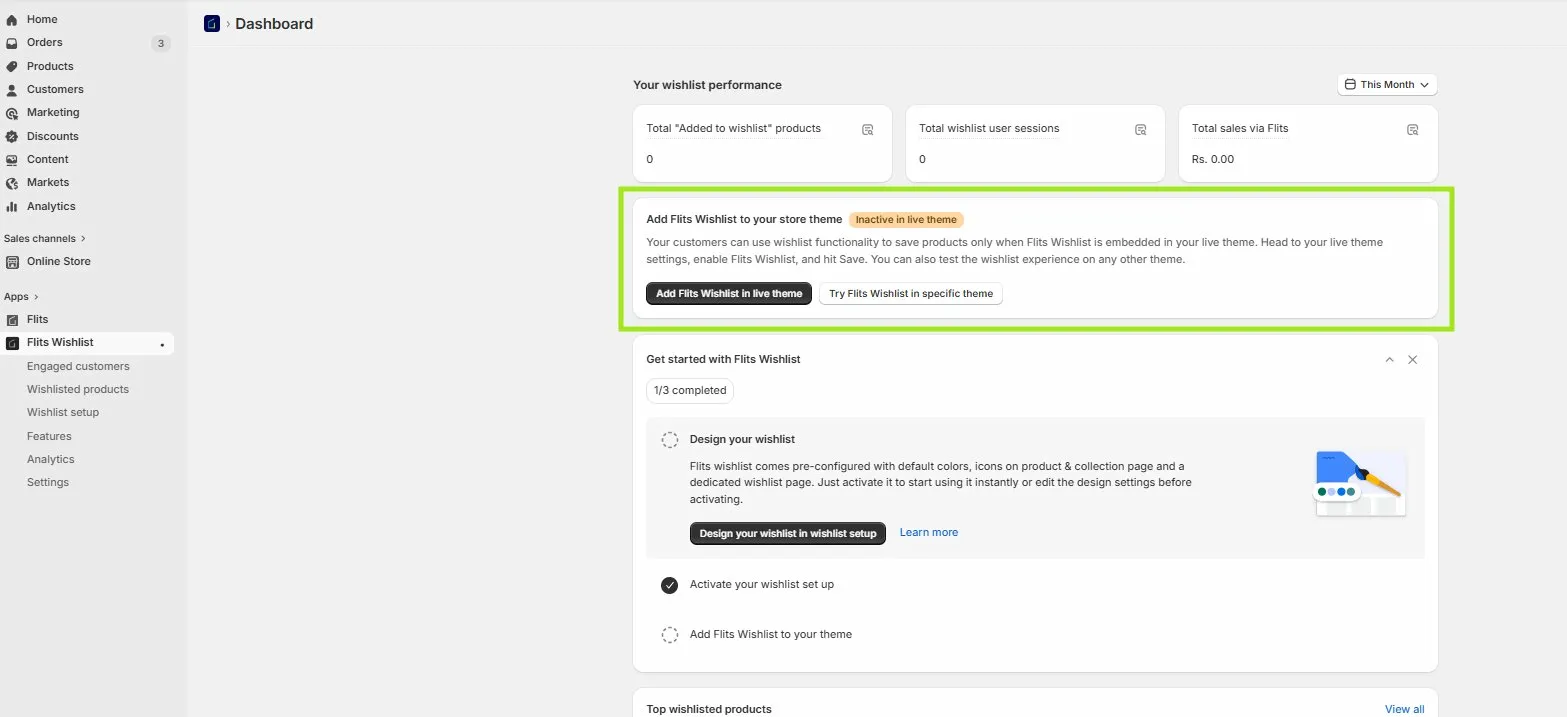
Once installed, you land on the Flits Wishlist Dashboard inside your Shopify admin. This is your home base for everything wishlist-related.

On the dashboard, you will see three things right away:
- Your wishlist performance stats: total products added, user sessions, and sales via Flits
- A status badge that shows whether Flits is active in your live theme
- A “Get Started” checklist showing your setup progress
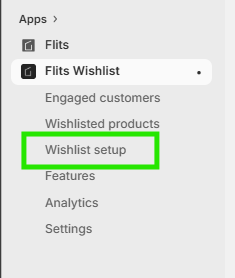
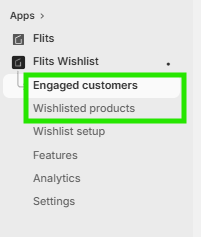
The left side menu gives you access to: Engaged customers, Wishlisted products, Wishlist Setup, Features, Settings, and Analytics.
Step 2: Finish the Onboarding Checklist
The dashboard shows a progress bar.
- Customize the wishlist icons as per your brand
- Activate the wishlist setup: Done
- Add Flits Wishlist to your store’s live theme: Done
- Design and customize your wishlist program: This one is up to you (We have given a default setup for wishlist icon on product & collection page and wishlist page, so you can start using the wishlist right away)
Click “Design your wishlist in wishlist setup” to finish the setup and get on with the next steps.
Step 3: Add Flits Wishlist to your store’s live theme
Click “Add Flits Wishlist in live theme” from the dashboard banner. This opens the Shopify Theme Editor. In the App Embeds panel, find Flits Wishlist and toggle it on, then click “Save.”

Step 4: Activate and configure your wishlist setup
Head to Flits Wishlist > Wishlist setup in the left menu.
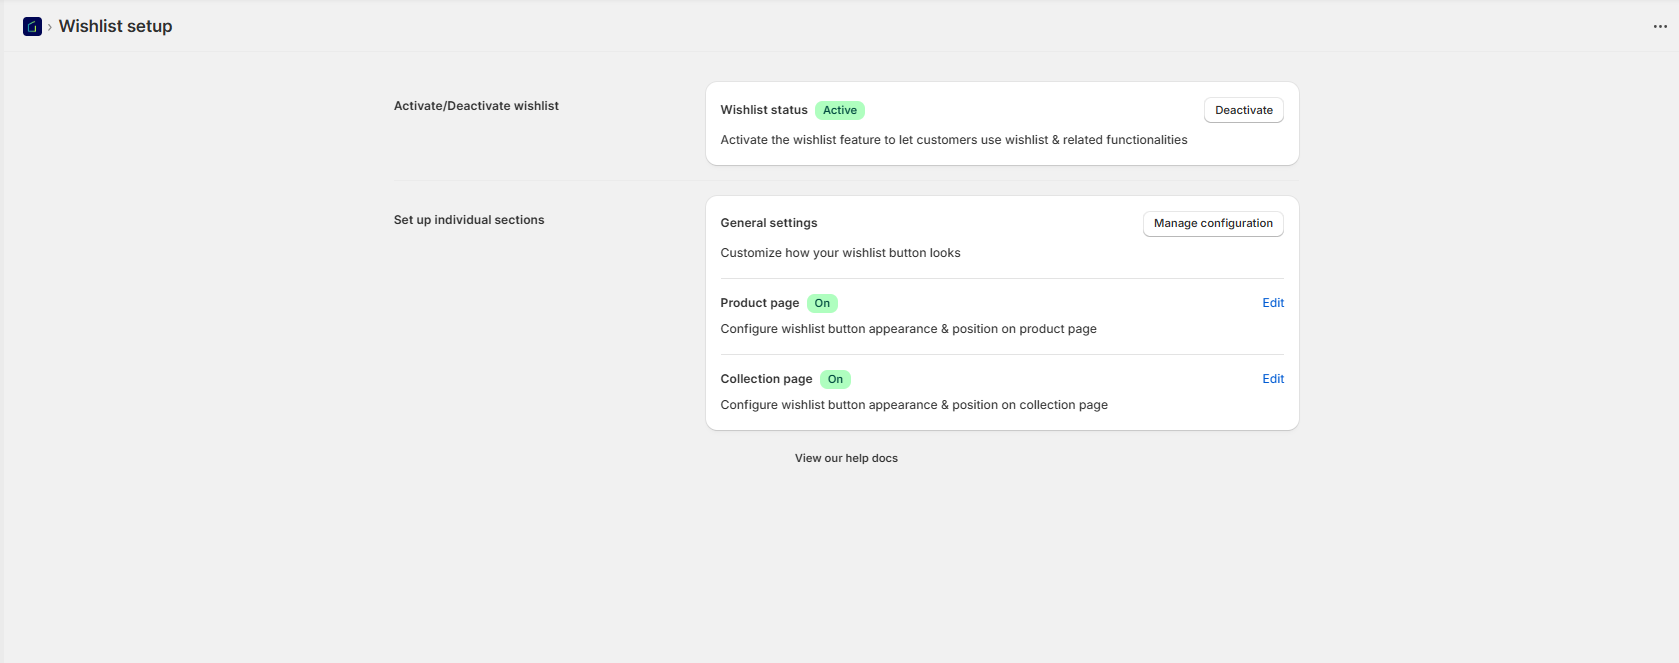
You will see two sections on this page:
- Activate or deactivate the wishlist: It’s the master switch. When it is on, the wishlist status shows “Active” with a green badge.
- Set up individual sections: This is where you control the wishlist button on each page.
The individual sections you can configure are:
- General settings: Controls the overall look of your wishlist button. Click “Manage configuration” to change colors, icons, and button style.
- Product page (On): Click Edit to set the button appearance and position on your product pages.
- Collection page (On): Click Edit to set the button appearance and position on your collection pages.
Pro Tip: Turn on the wishlist button for both the product page and the collection page. Shoppers on collection pages can save items without clicking into each product. This saves them time and gets more saves.
Set Up Extra Features
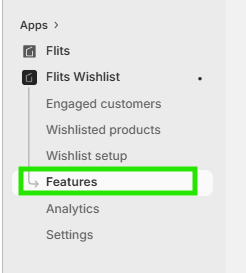
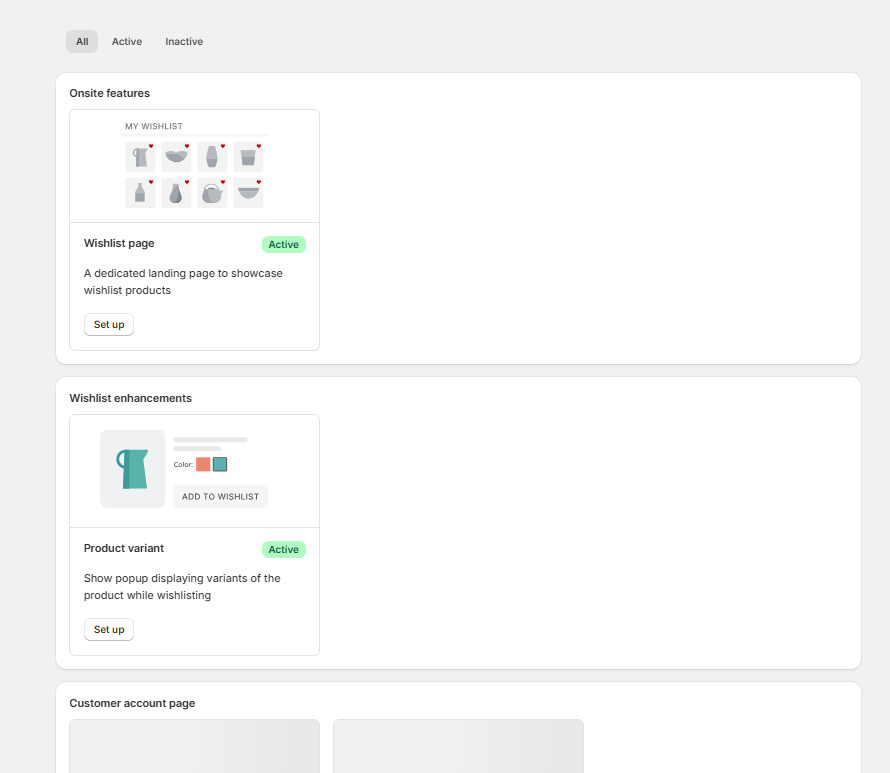
Go to Flits Wishlist > Features. This page is split into three groups:
- On-site Features: Wishlist page, if active, acts as a full landing page that shows all the products a customer has saved. Click “Set Up” to configure it. You can also add a link to this page in your store header so customers can find it easily.
- Wishlist Enhancements: (Product Variant)When a customer clicks the wishlist button, a pop-up appears asking which variant they want to save. This is great for products with multiple sizes or colors.
- Customer Account Page: Legacy, if active, shows the wishlist on the legacy Shopify customer account page. Whereas, a new customer page is available if switched on via Shopify settings, showcasing Shopify’s new customer account.
Note: Shopify is deprecating legacy customer account pages. Once you switch to the new customer account page in your Shopify settings, you will no longer be able to use the legacy customer account page or its wishlist integration.
Step 5: See who is wishlisting what
Once customers start using the wishlist, two sections come to life.
Wishlisted Products (Flits Wishlist > Wishlisted Products)
This shows every product that has been added to the wishlist. You can also click the “Wishlist activity log” tab to see a live feed of wishlist events.
Engaged Customers (Flits Wishlist > Engaged Customers)
This shows you exactly which customers have active wishlists. You can see how many products they have saved. Use this to send targeted emails when those products go on sale or come back in stock.
Pro Tip: Use the Engaged customers list to build a retargeting segment. Send a “You left something behind” email to customers who have had items in their wishlist for more than 7 days.
Step 6: Track your wishlist performance in analytics
Go to Flits Wishlist > Analytics to see how your wishlist is performing over time.
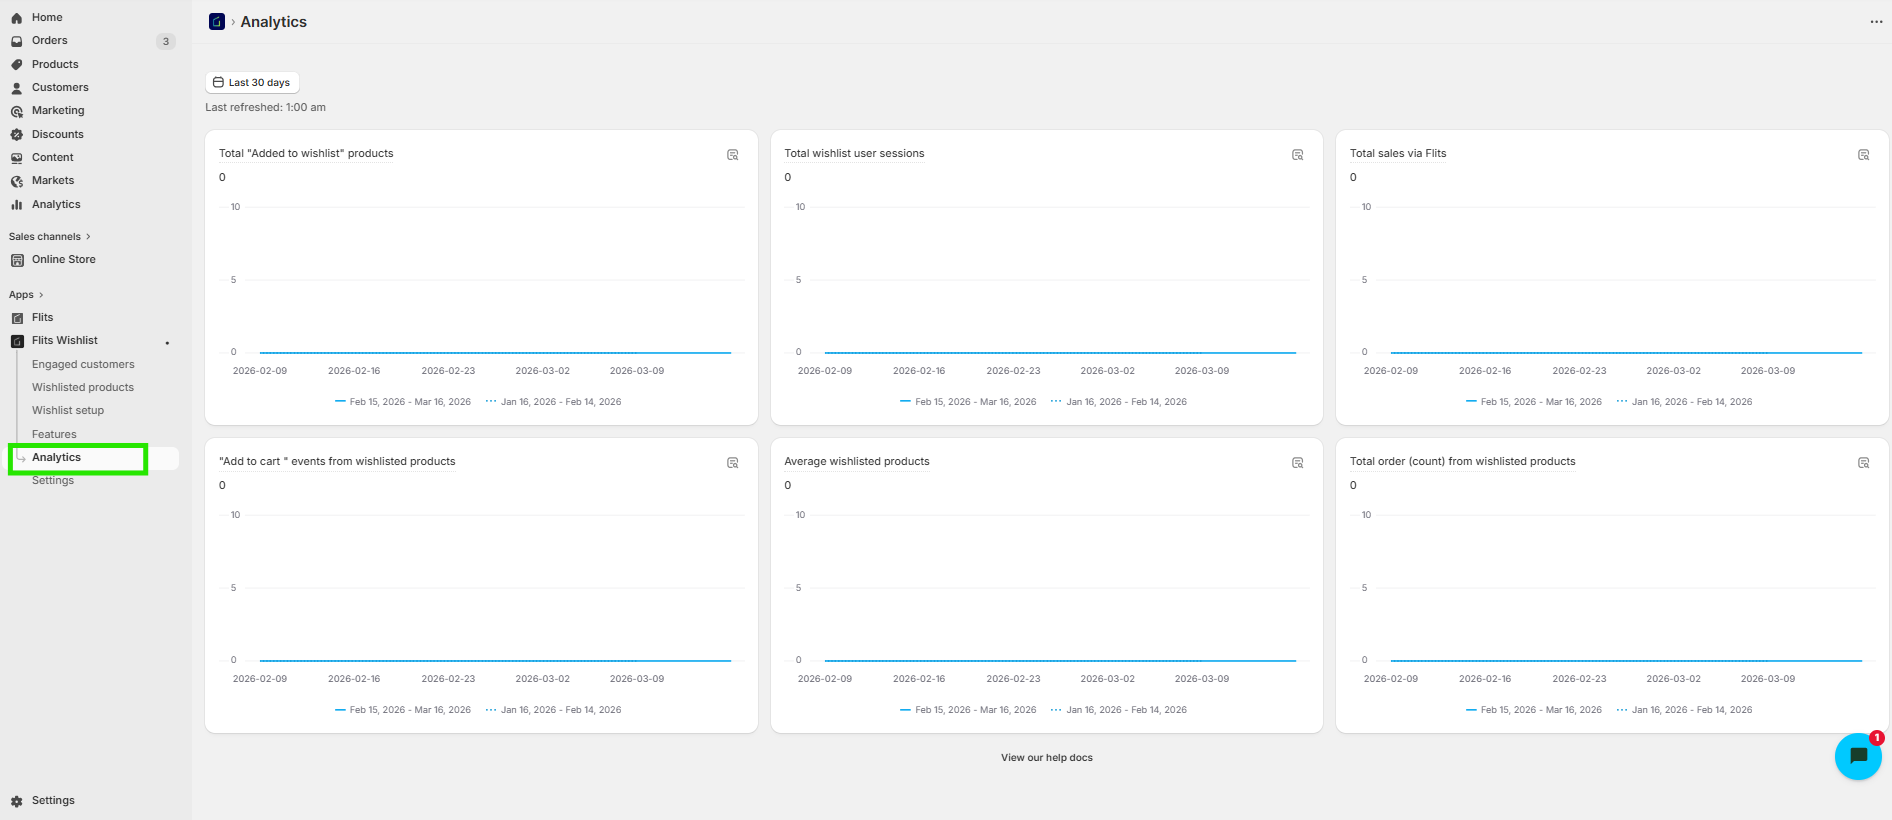
You get six charts on this page:
- Total products added to wishlist
- Total wishlist user sessions
- Total sales via Flits
- “Add to cart” events from wishlisted products
- Average wishlisted products per customer
- Total orders from wishlisted products
You can filter all charts by date range and compare two time periods side by side.
Step 7: Explore the Settings
Head to Flits Wishlist > Settings to fine-tune the app. The settings panel has these tabs:
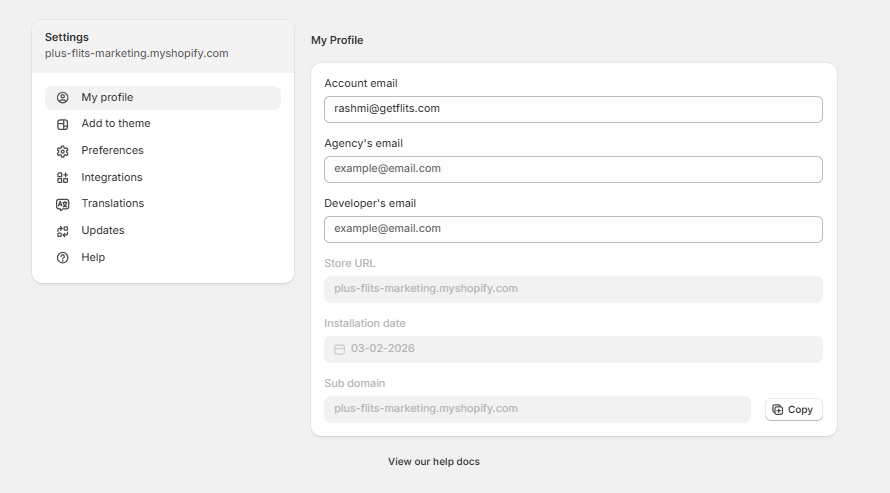
- My profile: Your account email, store URL, and install date
- Add to theme: Embed the wishlist app block into your live theme
- Preferences: App-level settings
- Integrations: Connect third-party tools
- Translations: Change wishlist button text for multilingual stores
- Updates: See what is new in recent app versions
- Help: Access support docs and contact the Flits team
Quick Reference: What You Get with Flits Wishlist
Here is a summary of every feature and where to find it.
Why a wishlist is good for your bottom line
A wishlist is not just a feature to have on your store. It actually moves the needle for your business. Here’s what it does for you:
- It keeps shoppers coming back. A saved wishlist gives people a reason to return to your store.
- It captures demand data. You can see which products are most wanted before you invest in more inventory.
- It grows your email list. Guest users get nudged to create an account to save their wishlist.
- It gives you better retargeting material. Wishlist data is far more accurate than general browsing data.
- It increases the average order value. Shoppers who come back to buy their wishlist items often add more to their cart.
Wrapping Up
Setting up a wishlist on your Shopify store with Flits takes less than 15 minutes. The setup is clear. The features are solid. And the analytics give you real insight into what your customers actually want to buy.
Once your wishlist is live, keep an eye on the Engaged Customers and Analytics sections. That data will help you run smarter campaigns and convert more of these window shoppers into buyers.
Give it a try. Your customers are already browsing. Now give them a reason to come back.
Frequently Asked Questions
1. Is Flits Wishlist free?
Yes. Flits Wishlist is free to install from the Shopify App Store for the first 50 users. You can get started without spending anything.
2. Does Flits Wishlist work with all Shopify themes?
Flits wishlist works with all Shopify themes. You can also test it on a specific theme before making it live. Use the “Try Flits Wishlist in a specific theme” button on the dashboard.
3. Can I move over to Flits from another wishlist app?
Yes. Flits supports migration from apps like Swym and Wishlist Plus. Your customer wishlist data transfers without any loss.
4. Can guests use the wishlist without an account?
Flits can show the wishlist button to all visitors. When a guest tries to save something, it prompts them to create an account. This is a great way to grow your customer list.
5. How do I add the wishlist link to my store header?
Go to Flits Wishlist > Features > Wishlist page and follow the setup steps. You can also use the Shopify theme editor to add a wishlist icon to your navigation menu.